
Northern Lights photography — settings and tips
You don't need a $5,000 setup to photograph the northern lights — but you do need a tripod, manual control and a few small habits that make the difference between blurred green smudges and the shot you came for.
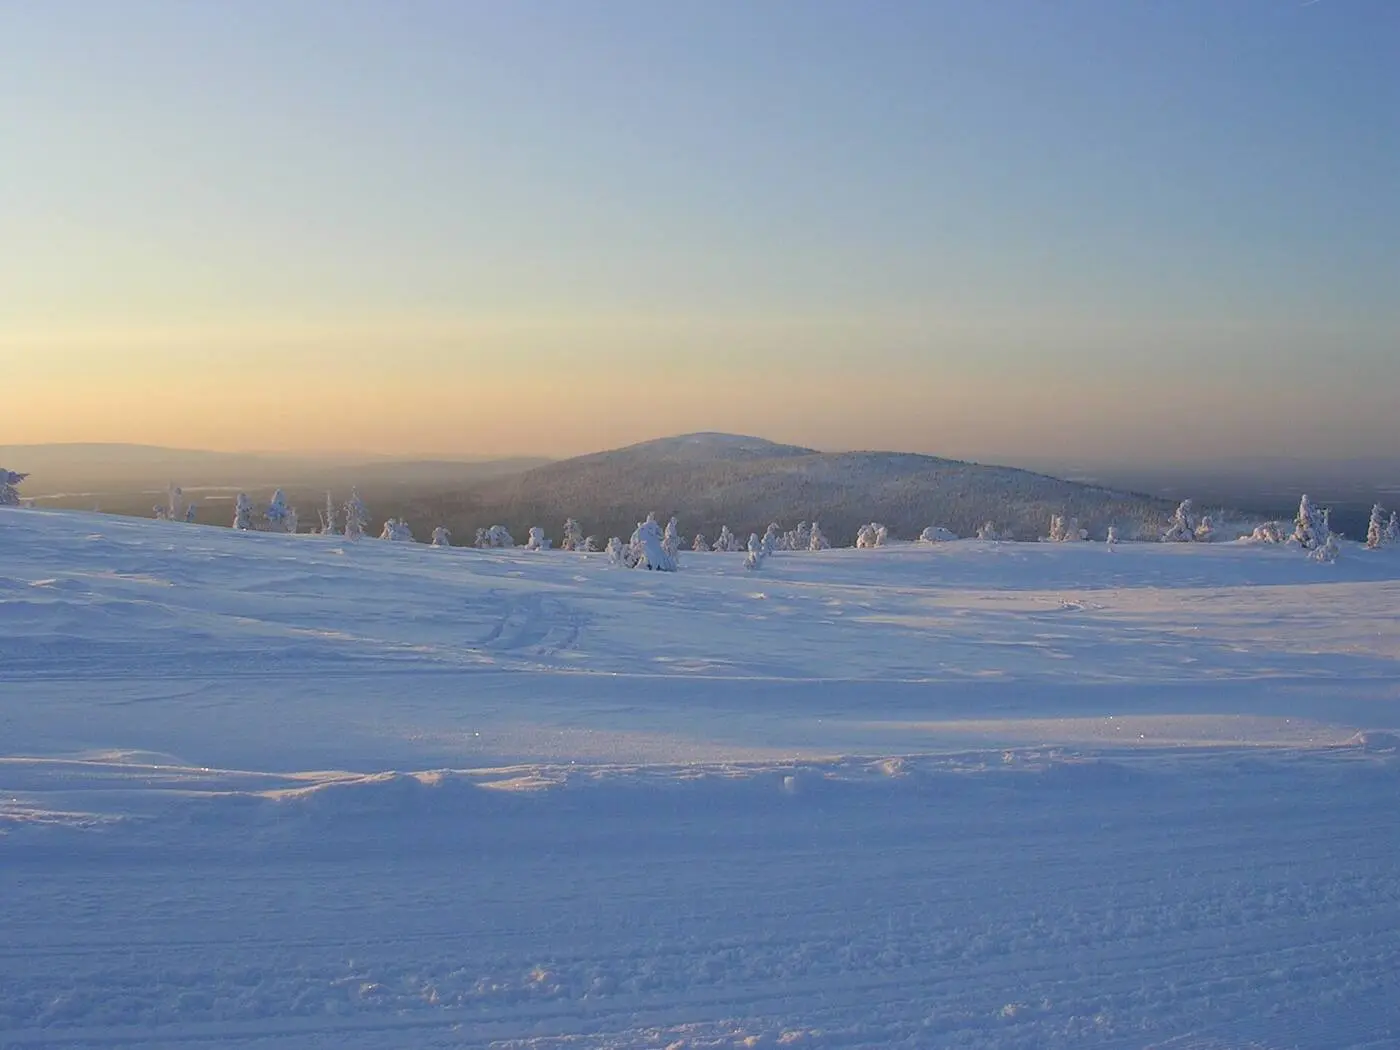
Most modern cameras — and increasingly, modern phones — can capture the aurora well. What stops people getting good shots isn't gear; it's an unfamiliar combination of long exposures, total darkness and very cold hands. This guide gives you the settings that work as a starting point, and the small operational tricks that matter when conditions are working against you.
What you actually need
- A camera with manual mode (mirrorless, DSLR, or a phone with Pro/Manual mode — recent iPhones and Pixels both have one).
- A tripod. Non-negotiable. Even the cheapest travel tripod works. Hand-holding is impossible at the exposures the aurora needs.
- A fast wide-angle lens if you have one. f/2.8 or wider is great; f/4 still works. Focal length 14–24mm full-frame equivalent captures both the lights and a horizon.
- Spare batteries. Cold halves their life — bring three if you'd usually bring one.
- A head torch with a red light mode, so you can change settings without ruining your night vision.
Starting settings
Set the camera to full manual (M). RAW format if your camera offers it. Manual focus, set to infinity (autofocus does not work on a dark sky — focus on a distant light or use Live View, zoom in on a bright star, and adjust until it's a pin-point). Switch off image stabilisation when the camera is on a tripod; it can introduce blur on long exposures.
From there, three settings change with conditions:
- Aperture: as wide as your lens allows. f/2.8 is great, f/4 is fine, f/5.6 starts to need higher ISO and longer exposures.
- Shutter: start at 8 seconds. Faint aurora needs longer (up to 20 seconds); bright, fast-moving displays need shorter (2–4 seconds) or they smear into a green blob.
- ISO: start at ISO 1600. Drop to 800 for very bright displays, push to 3200 for very faint ones. Modern cameras handle ISO 3200 cleanly; older bodies get grainy past 1600.
Phone photography
Recent iPhones (12 Pro and newer) and Pixels (6 and newer) shoot the aurora surprisingly well. The trick is Night Mode plus a tripod — handheld night mode is not enough for moving aurora. With the phone on a tripod (or steadied on a fence post), open the camera, switch to Night Mode, slide the timer up to 10–30 seconds, and tap the shutter. The result won't match a dedicated camera but is genuinely shareable.
Composition
The single biggest improvement most aurora photos need is a foreground. A picture of green sky and nothing else is forgettable. Pictures of green sky over a snowy lake, a lone tree, a log cabin or a frozen river surface are not. Scout your spot before dark if possible. Good Lapland foregrounds:
- Kemijoki river ice in Rovaniemi (the Jätkänkynttilä bridge area)
- The Levi fell viewing terrace looking down across the valley
- Any frozen lake — Lake Inari is famous for a reason
- Snow-covered spruce forest with a path leading the eye in
Cold-weather camera care
- Keep spare batteries in an inside pocket against your body. Swap them when one dies; the cold one revives in your pocket and can be reused.
- Never breathe on the lens. The moisture freezes instantly and ruins the next several shots.
- When you go back inside, leave the camera in a sealed bag or case for at least 30 minutes. Pulling a cold camera into a warm room causes condensation inside the lens that takes hours to clear.
- Use a microfibre cloth to clear any snow flakes — don't wipe with a glove.
- A simple intervalometer or your camera's built-in timer avoids touching the shutter button (which shakes the tripod).
Getting the timing right
Aurora activity is most likely between 9pm and 1am local time, with the peak window roughly 10pm–midnight. Cloud cover matters more than KP index — a KP-3 night under clear sky often beats a KP-6 night under cloud. See our best time to see the northern lights guide for the wider seasonal picture. Apps like My Aurora Forecast and the official FMI service give you a workable short-term outlook.
Where to base for photography
Both Rovaniemi and Levi have excellent dark-sky locations within 20 minutes of the centre. For pure aurora chasing without a car, Levi's fell-top access is hard to beat. Rovaniemi has more frozen-river compositions. Our Rovaniemi vs Levi guide compares them.
Ready to shoot?
Browse our northern lights tours — many include transport to dark-sky locations and a guide who'll help you set up the shot. Or book a private photography tour through our tailor-made service.
オーロラは見えますか?
正直にお答えします。数泊の余裕があれば、見られる可能性は高いです。ただし誰にも約束はできません。実際の確率、それを左右する要因、そして私たちが具体的に行っていることをご説明します。
月別のリアルな見込み
フィンランド・ラップランドに3泊した場合に、少なくとも1回オーロラを見られる確率の目安です(例年の条件に基づく)。太陽活動と雲の量は年ごとに変わるため、予報ではなく計画の目安としてご覧ください。
| 月 | 3泊での確率 | 暗夜の長さ | この時期の特徴 |
|---|---|---|---|
| 9月 | 中程度・約50% | 約6時間 | シーズン開幕。夜は穏やかで湖面への映り込みが美しく、雪はまだ。大西洋からの雲が多め。 |
| 10月 | 良好・約60% | 約9時間 | 暗さが急速に戻り、秋分期の活動も後押し。湿った変わりやすい天気が最大の障害。 |
| 11月 | 良好・約60% | 約13時間 | 夜が長くなり、안定した初雪。曇りがちですが晴れ間もよく開きます。 |
| 12月 | 中程度・約55% | 約18時間 | 極夜——ほぼ一日中暗い。一方でシーズン中もっとも雲と雪が多い月。 |
| 1月 | 良好・約65% | 約17時間 | 寒く乾いた高気圧の夜は真冬でもっとも澄んだ空に。本格的な防寒が必要です。 |
| 2月 | 非常に良好・約70% | 約14時間 | ベストバランス。十分に暗く、空気は澄み、雪は深く、アクティビティもフルプログラム。 |
| 3月 | 非常に良好・約70% | 約10時間 | 春分期の活動がピークに達し、空も澄みがち。オーロラと日中のアクティビティを両立できる総合最良月。 |
| 4月初旬 | 中程度・約45% | 約6時間 | オーロラはまだ活発ですが、暗い時間が急速に短くなります。晴天、良質な雪、空いたリゾート。 |
シーズン全体をひと目で
各バーは上の表と同じ「3泊での遭遇確率」をグラフ化したものです。月ごとの比較用の目安であり、予報ではありません。
3泊のうち1回以上見られる確率
見えるかどうかを決めるもの
要因は3つ。そのうちオーロラそのものに関わるのは1つだけです。同じ町の同じ夜でも体験がまったく異なるのはこのためです。
オーロラは雲の上に出ます。がっかりする夜のほとんどは、オーロラは出ていたのに空が覆われていただけです。雲は最大の要因で、しかも局地的——40km 移動するだけで曇天と快晴が入れ替わります。
街灯は淡いオーロラをかき消します。明るいホテルの駐車場では強い出現でないと気づけませんが、町から20〜30分の暗い湖やフィエルドなら、淡いアークでも肉眼で見えます。
1泊はどこに泊まってもコイントス同然です。3泊あれば確率ははっきり有利に傾きます。そのうち1晩晴れればいいからです。
淡いオーロラは肉眼では淡い灰緑色の帯に見え、長時間露光ではじめて鮮やかな緑になります。これは物理的にごく普通のことで、出現が弱いわけではありません。だからこそガイドが代わりに撮影します。
確率を高めるために私たちがしていること
空だけは変えられません。しかしこのリストのほぼすべては、その夜に誰かが下す判断です。
- ガイドは夕方を通してオーロラ予報と雲量予報を確認し、出発地点を事前ではなく当夜に決めます。
- ツアーは移動型です。最初のポイントで空が閉じたら、待たずに最寄りの晴れ間へ車を走らせます。
- 街明かりを離れ、暗い湖・フィエルド・森の開けた場所へ向かいます。
- サーマルオーバーオール、ブーツ、グローブ、温かい飲み物。十分な時間、外にいられることが大切です。
- 少人数制。条件が変わったときに素早く移動できます。
- 活動がもっとも高まりやすい 21:00〜01:00 をカバーする夜遅めの時間設定。
- ガイドが撮影します。淡いオーロラでも、確かな一枚として持ち帰れます。
滞在中はオーロラ通知アプリを活用
通知アプリは「今、外に出る価値があるか」を教えてくれます。ガイドツアーのない夜にとくに便利です。
オーロラ通知アプリの仕組み
L1点の衛星(NASA/NOAA の DSCOVR と ACE)が太陽風の速度・密度・磁場の向きを、地球に到達する約30〜60分前に観測します。そのデータがアプリに流れ込みます。
フィンランドには地上磁力計の密なネットワークがあります。上空でオーロラが活発になると、その土地の磁場が揺れ始めます。フィンランド向けのアプリはこのローカルな乱れで通知するため、世界共通のKp指数だけより現地では格段に信頼できます。
感度を設定すると、活動がそれを超えた時点で通知が届きます。多くは出現の数分前か、始まった直後です。就寝時間帯のサイレント設定もほぼ可能です。
活動度だけでは半分です。通知が来たら雲予報を確認し、真上が曇っていれば晴れ間へ移動するか待ちましょう。アプリは予報と現在の状況の両方を表示します。
通知は「オーロラが活発である可能性が高い」ことを示すもので、その場から見えるとは限りません。雲・街明かり・満月に隠されることもあり、静かな数値でも突然のサブストームは起こり得ます。
オーロラが現れなかった場合
オーロラは自然現象です。私たちは予報を追い、もっとも条件の良い場所へご案内しますが、太陽活動も天候も誰にもコントロールできず、誠実な事業者であれば観測を保証することはできません。守れない約束を売るより、先に正直にお伝えします。
- 当社のオーロラツアーに観測保証はありません。今後もそれを謳うことはありません。
- オーロラが出るかどうかにかかわらず、ツアーは記載どおり実施されます。移動、ガイディング、ロケーション、装備がご予約の内容です。
- 出発の中止は安全上の理由によるもので、オーロラ予報が弱いことを理由にはしません。当社都合で中止した場合は全額返金します。
- オーロラの夜は1泊ではなく2〜3泊を確保してください。もっとも効果の大きい対策です。